Here is how I added an AUX input to my Delco Radio/CD player and a nice mount for my N810.
Part 1 - Adding The AUX Input
First off This worked on my Delco radio. It may work on yours, it may not. On My radio there is a nice AUX button right under the CD button. This goes to an AUX connector on the back of the unit. This is a Delco AUX plug. It was meant to go to a separate tape deck. Unfortunately, this AUX plug requires an intelligent device to be connected in order to function. There is also a device you can buy that will plug into this AUX port and give you a normal RCA connection. However, the goal of this project is to spend as little money as possible while having the fun of doing it yourself.
If you disconnect your radio from your car battery or any other source of power it may lock itself, this is part of the anti-theft feature. If your radio locks itself there is a link at the bottom with unlocking instructions.
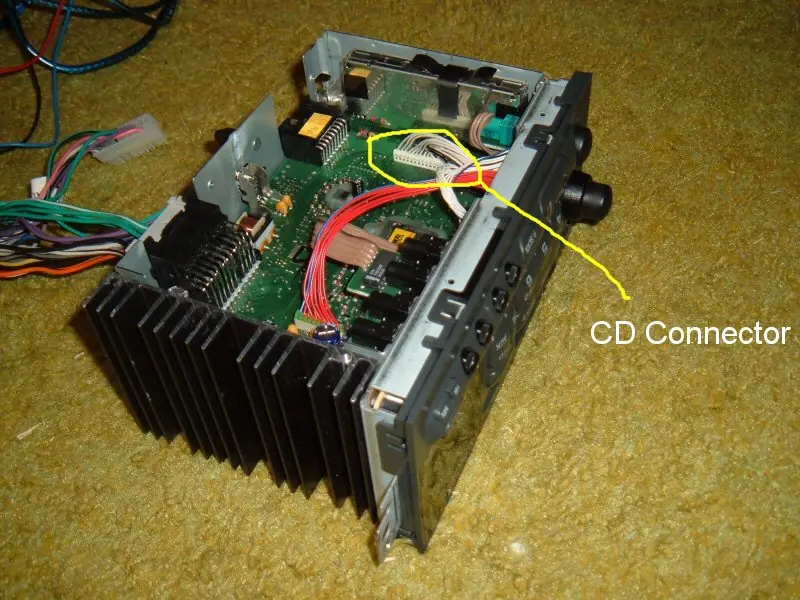
The idea is to splice into the CD’s input with your own input. Here is the connector and the pins you will need. The ground is in between the Left and Right, but you can use any ground.

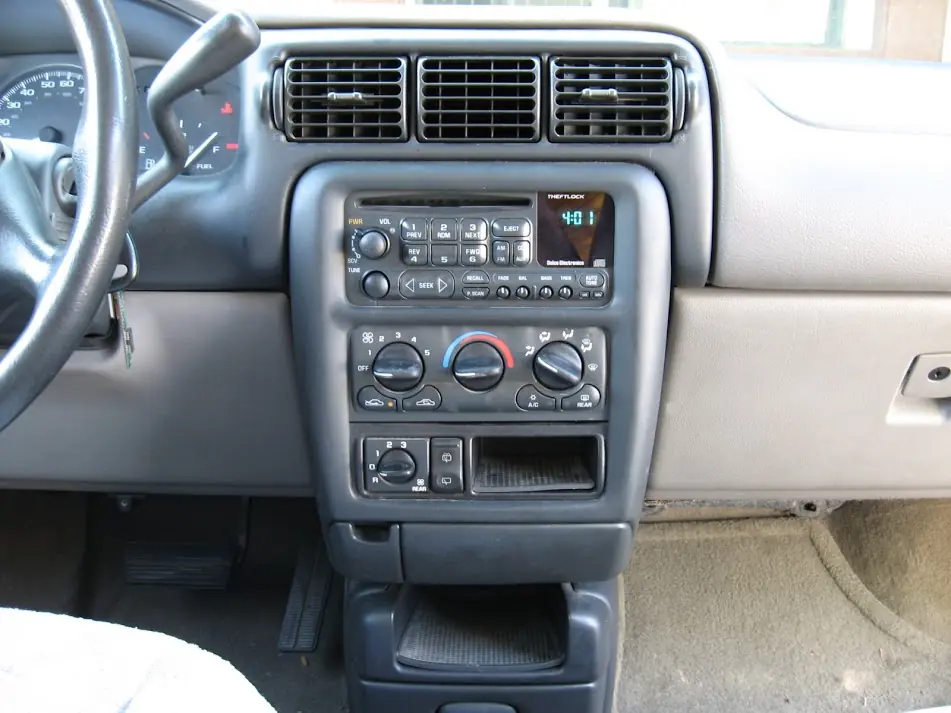
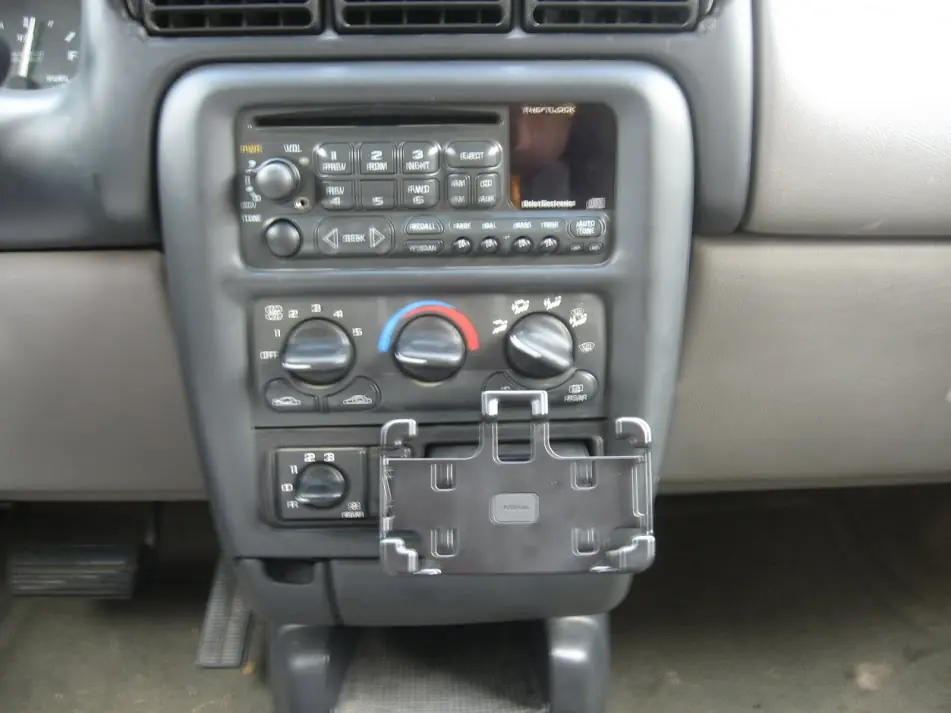
Here is my dash before the mod
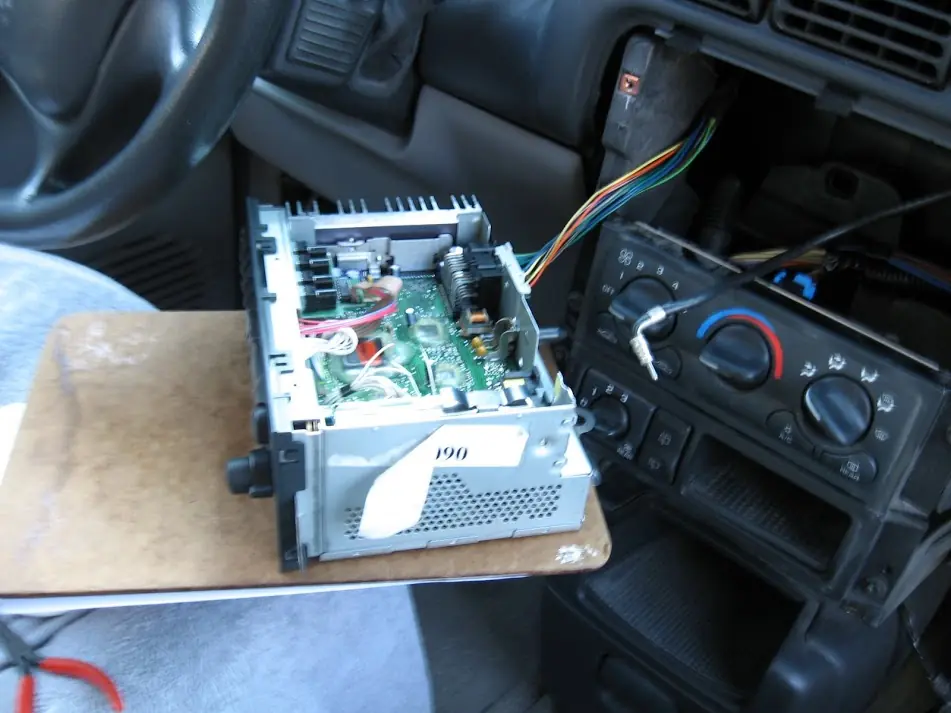
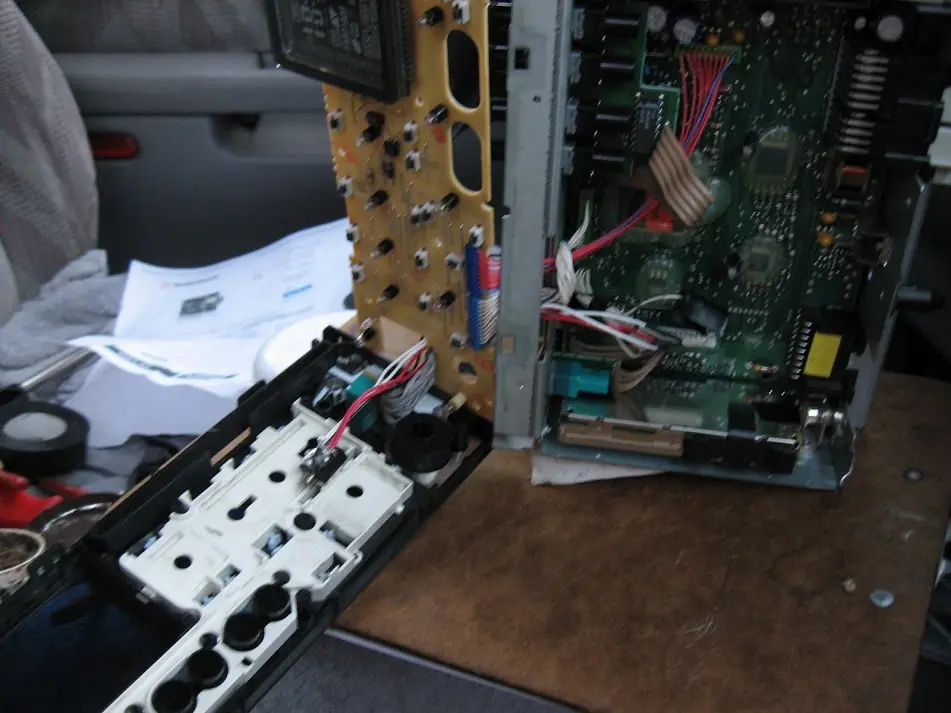
Opening the Radio
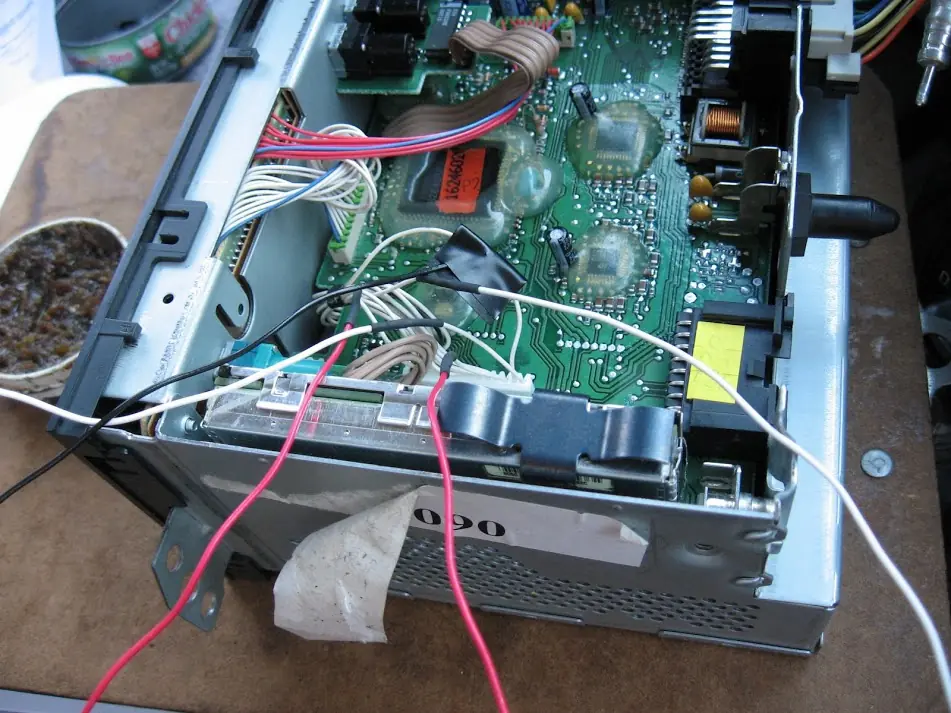
Splicing the needed wires
I wired my 3.5mm AUX jack in the front of the unit. It barely fit. It would have been a lot easier to run the wires out of the unit and mount it elsewhere in your car. Anyway the idea is when you are on the CD input it will use the audio from the CD player unless there is a jack in the AUX input. I used a Radio Shack part # 274-0246 similar jacks will work but they may not allow you to switch from CD to AUX. Here is the wiring diagram of the jack.
Pin 1 - Ground - connect to radio ground
Pin 2 - Left Channel - wire from CD connector on main circuit board
Pin 3 - Left Channel - wire coming from CD player module
Pin 4 - Right Channel - wire coming from CD player module
Pin 5 - Right Channel - wire from CD connector on main circuit board
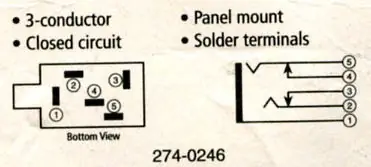
Here is the jack wired through the front panel
Testing it with my N810 before I put it all together

Putting it all back together

Part 2 - N810 Mount
I did not want to spend the money to buy the rest of the mount that the N810 came with, or make anything that was too permanent. So I took the N810 half of the mount (the part the N810 came with) and decided to mount it in the empty slot in my dash. To do that I just screwed the end of it into a 3.5 inch long 2×4, and painted black to match. Here is the completed mount on its own, and in my dash.
Part 3 - Finished
Here is the final product with the N810 all hooked up
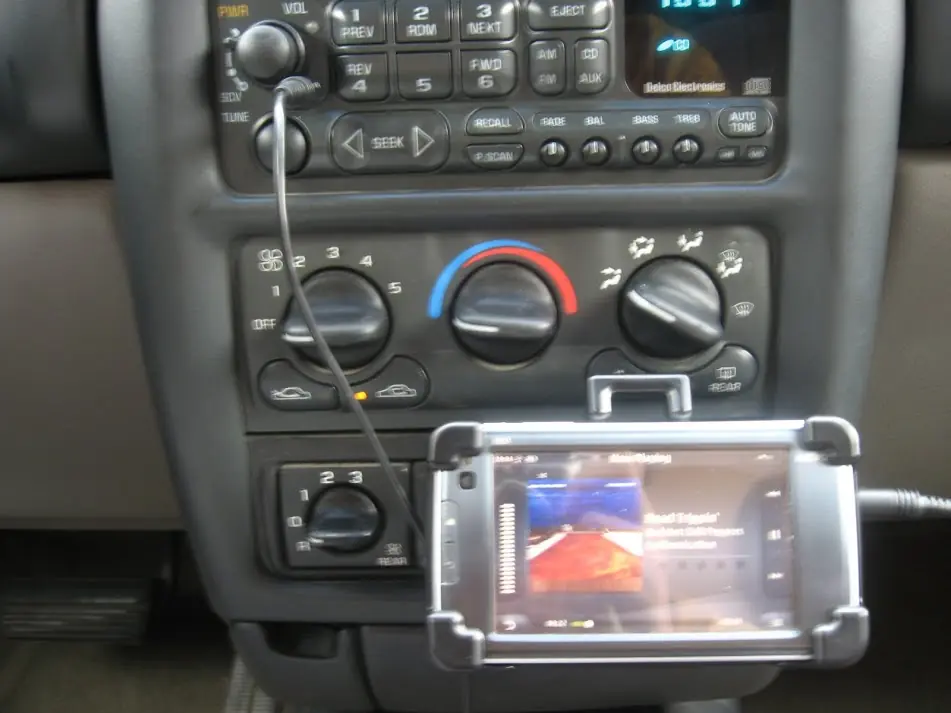
I also got an N810 car charger to keep it going, playing lots of audio can drain the battery, and with Canola I can keep the screen lit so I can always see what is playing.
When using the AUX in you need to turn the volume up really high, that means that when you unplug it it will be extra loud, and hurt your speakers. in addition since the wires are so close together some of the CD player’s sound signal will get mixed in with your AUX input due to electromagnetic radiation. To fix that I made an audio CD with 80 minutes of silence. I used Audacity to create one long audio file, then burned it to a CD. It fixed this problem. I will upload a compressed ISO of this disk soon.
Related Links
Where I got the mod idea and information from
Directions to unlock your radio
More assorted pinouts