Backstory
A few years ago when the local Circuit City was going out of business I decided to stop by to see if there where any good deals. Unfortunately most of their inventory was at a very low discount (if at all). However they where getting rid of some of their CRM and sales equipment. I picked up a 3M touch-panel LCD monitor for $20 or so, sold “as-is”. When I got home I realized that the LCD panel was only 800x600px, and had a broken back-light. I tried to get the touch panel working but for some reason it was not receiving power and I could not find any drivers for it. Into storage it went.
A few months later I dusted it off and decided to give it another try. I was able to find a way of providing 5v power to the controller board for the touch panel, and after much searching I found the drivers.
The Hardware
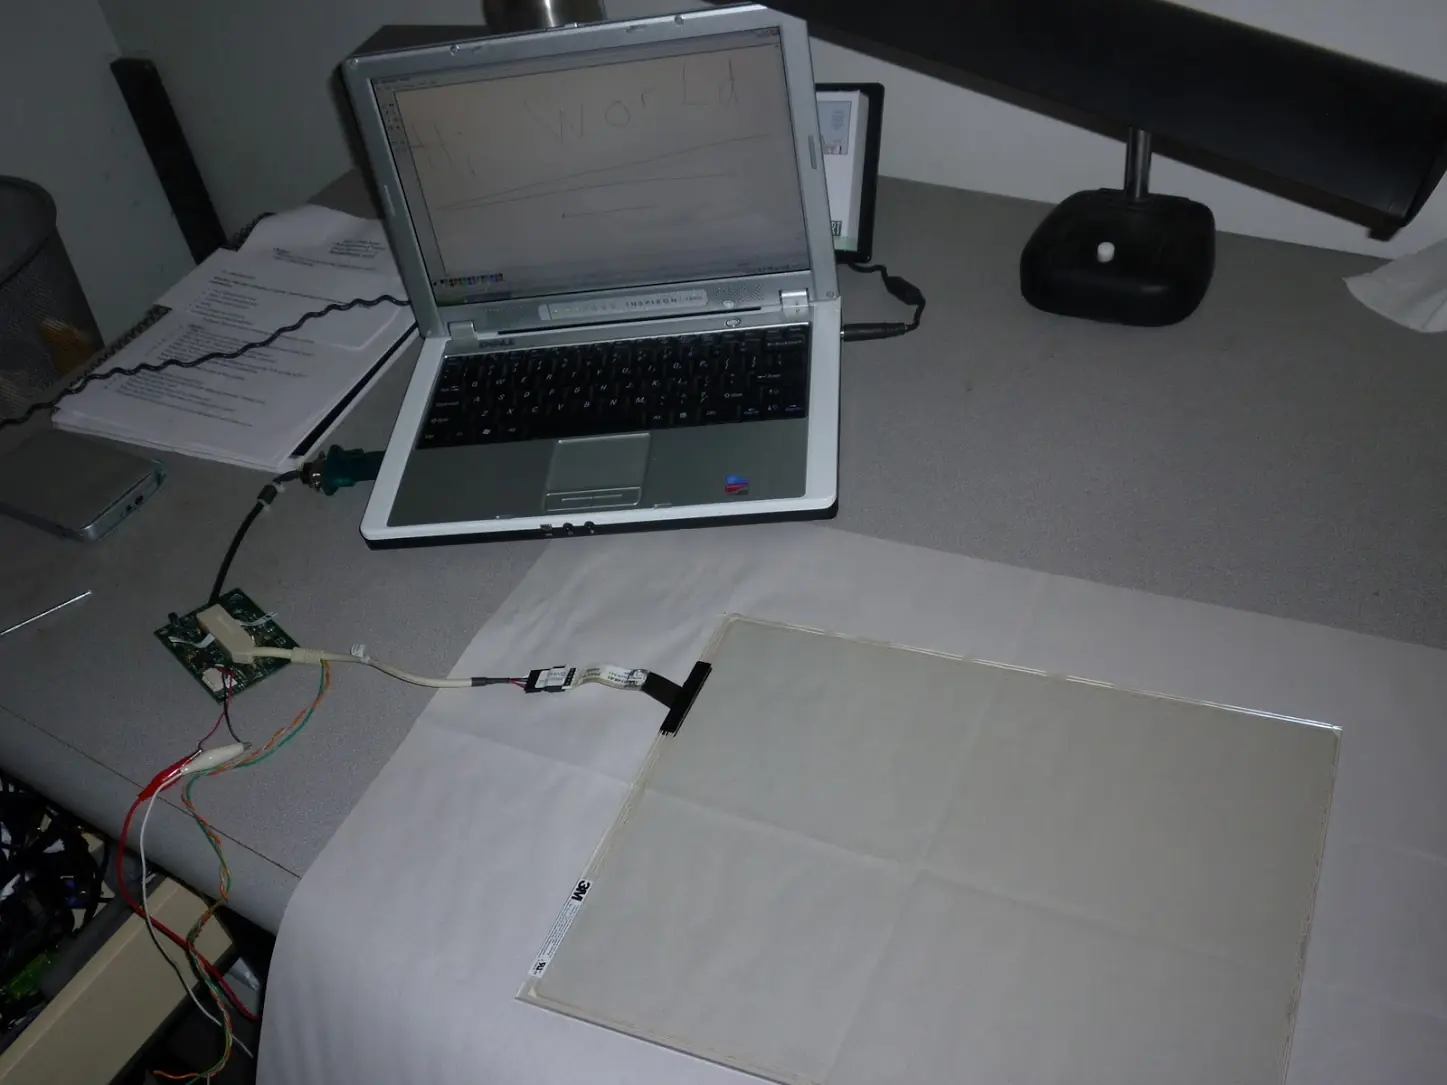
Once I got the driver, power to the board, and figured out its serial connection it was surprisingly easy to get working. Below you can see a picture and video of the touch panel wired up and working on a laptop.
The next step was to remove the glass touch panel from the broken LCD. The glass was only held on by some very strong adhesive. After carefully removing it I tested it to make sure everything was still in good working order.
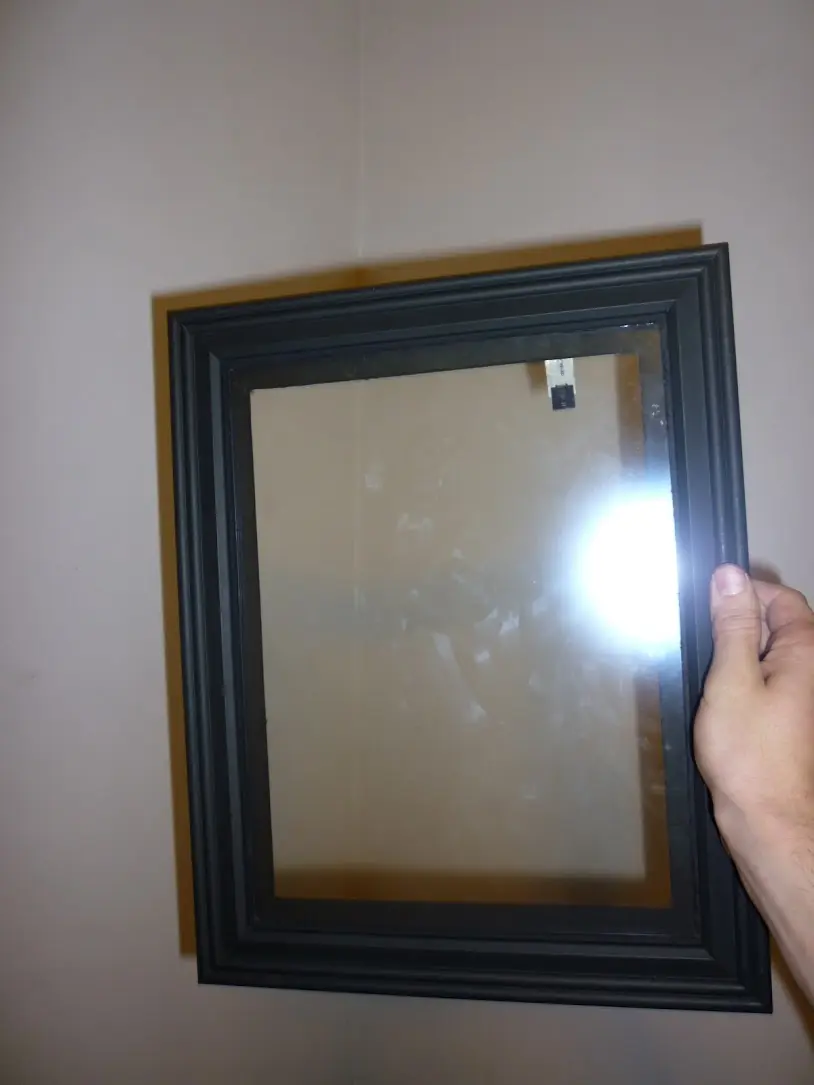
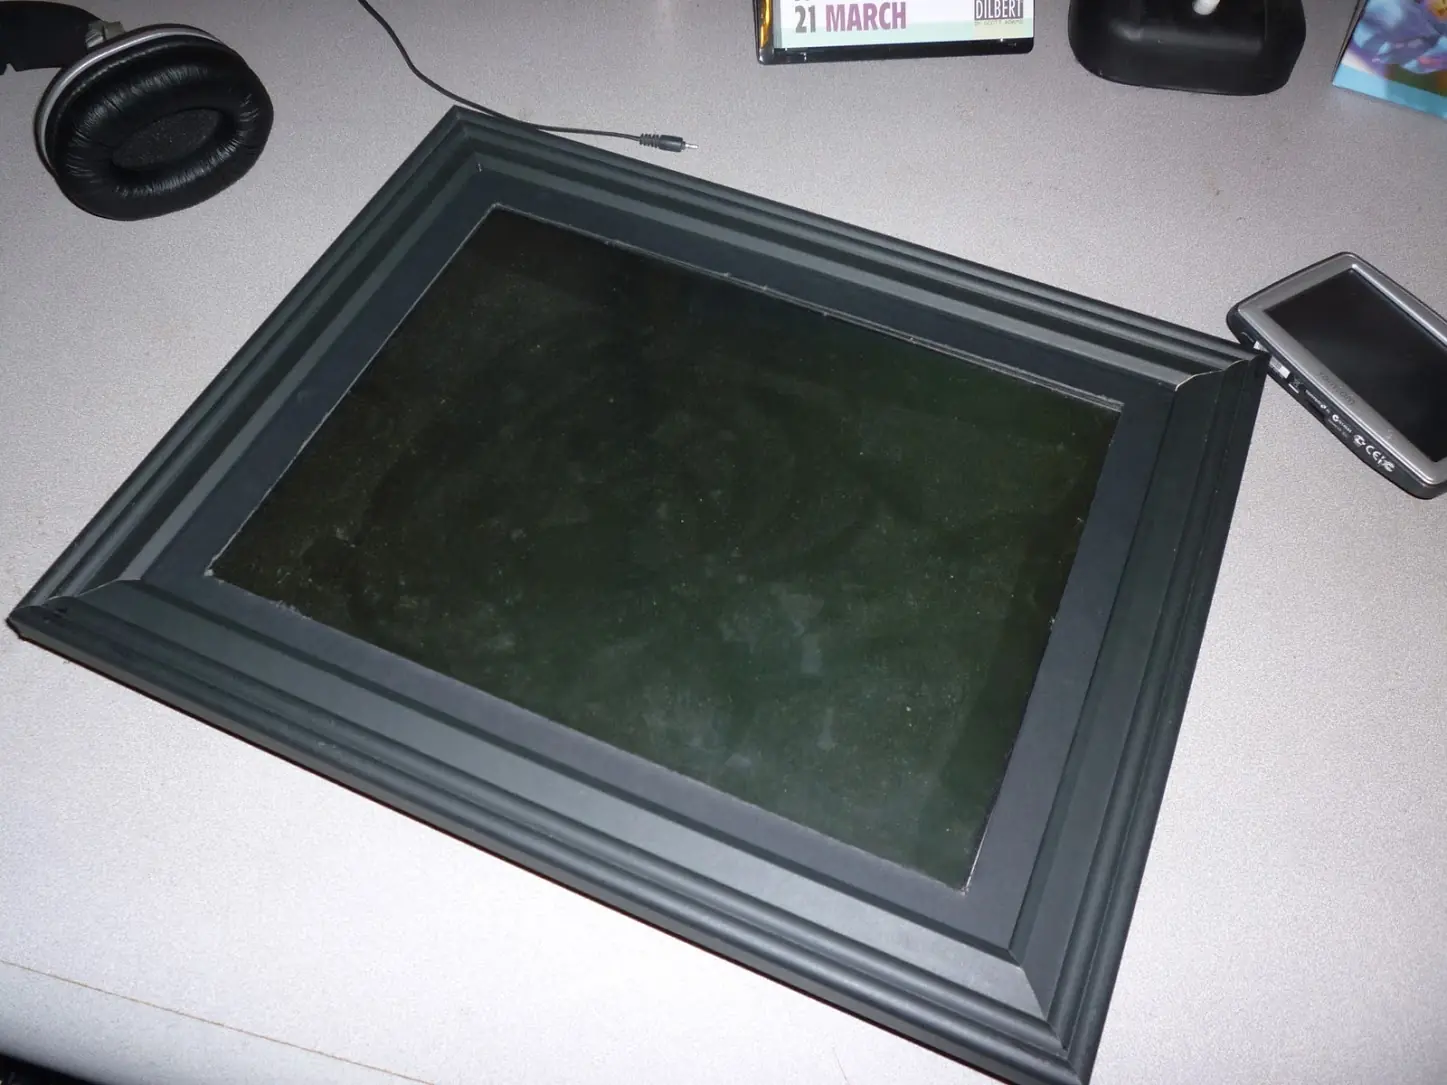
Now is when the fun starts! I picked up a picture frame that used a piece of glass the exact same size of the touch panel from a local arts and crafts store. I also found a old Pentium M laptop I would be modifying to use the touch panel on its screen with the picture frame.
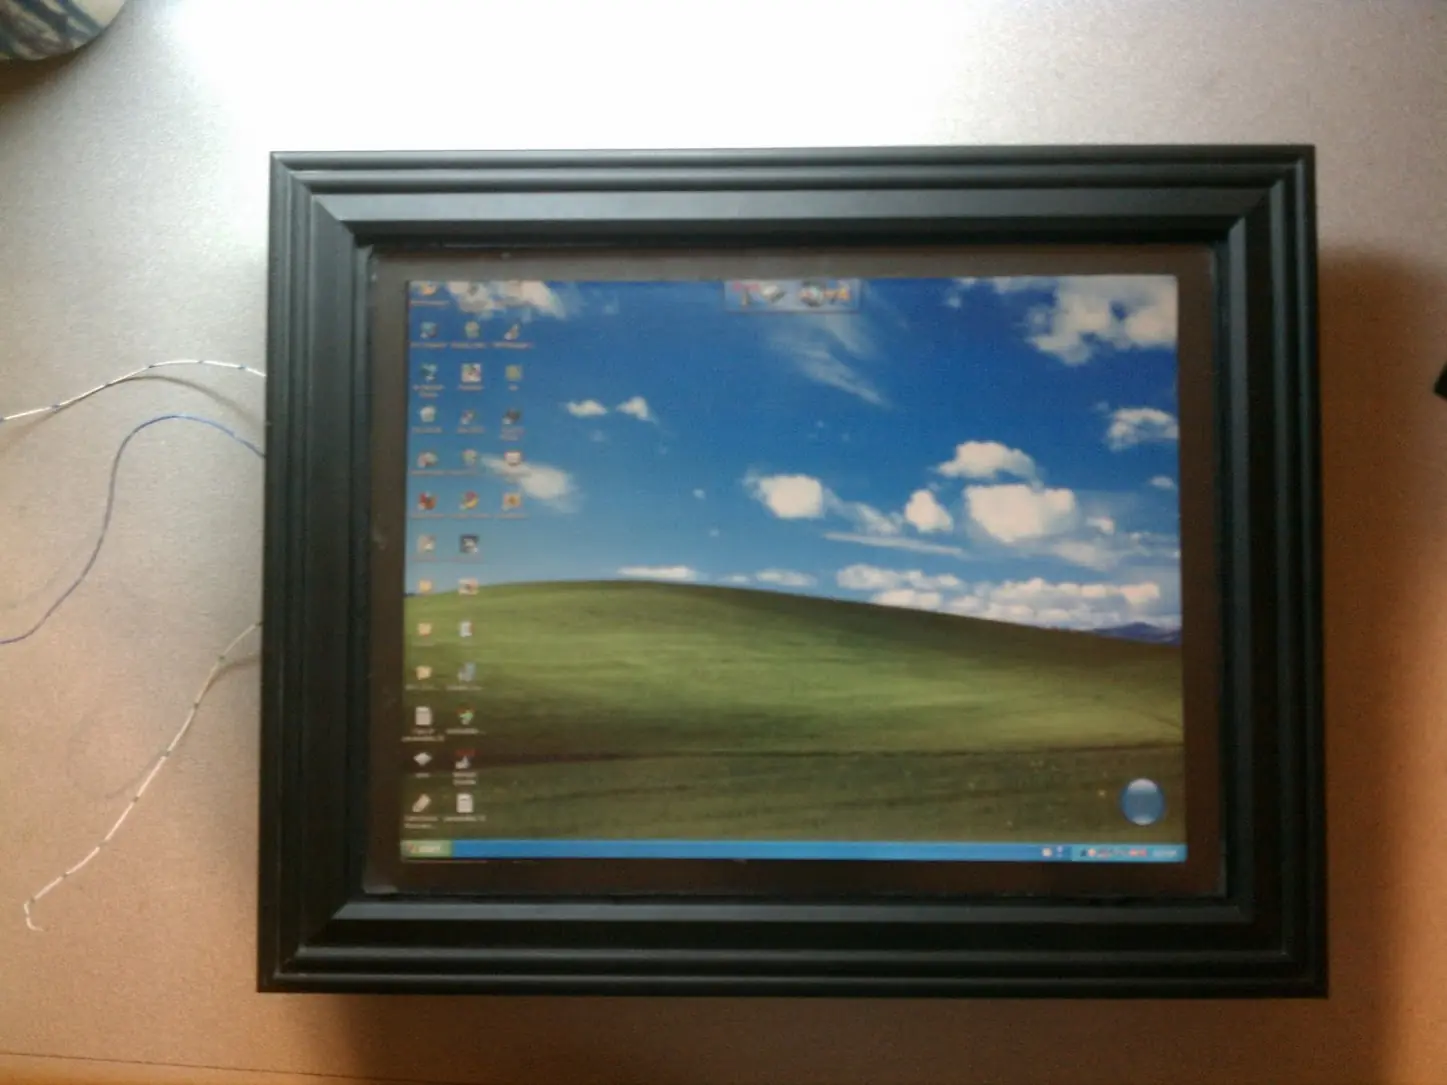
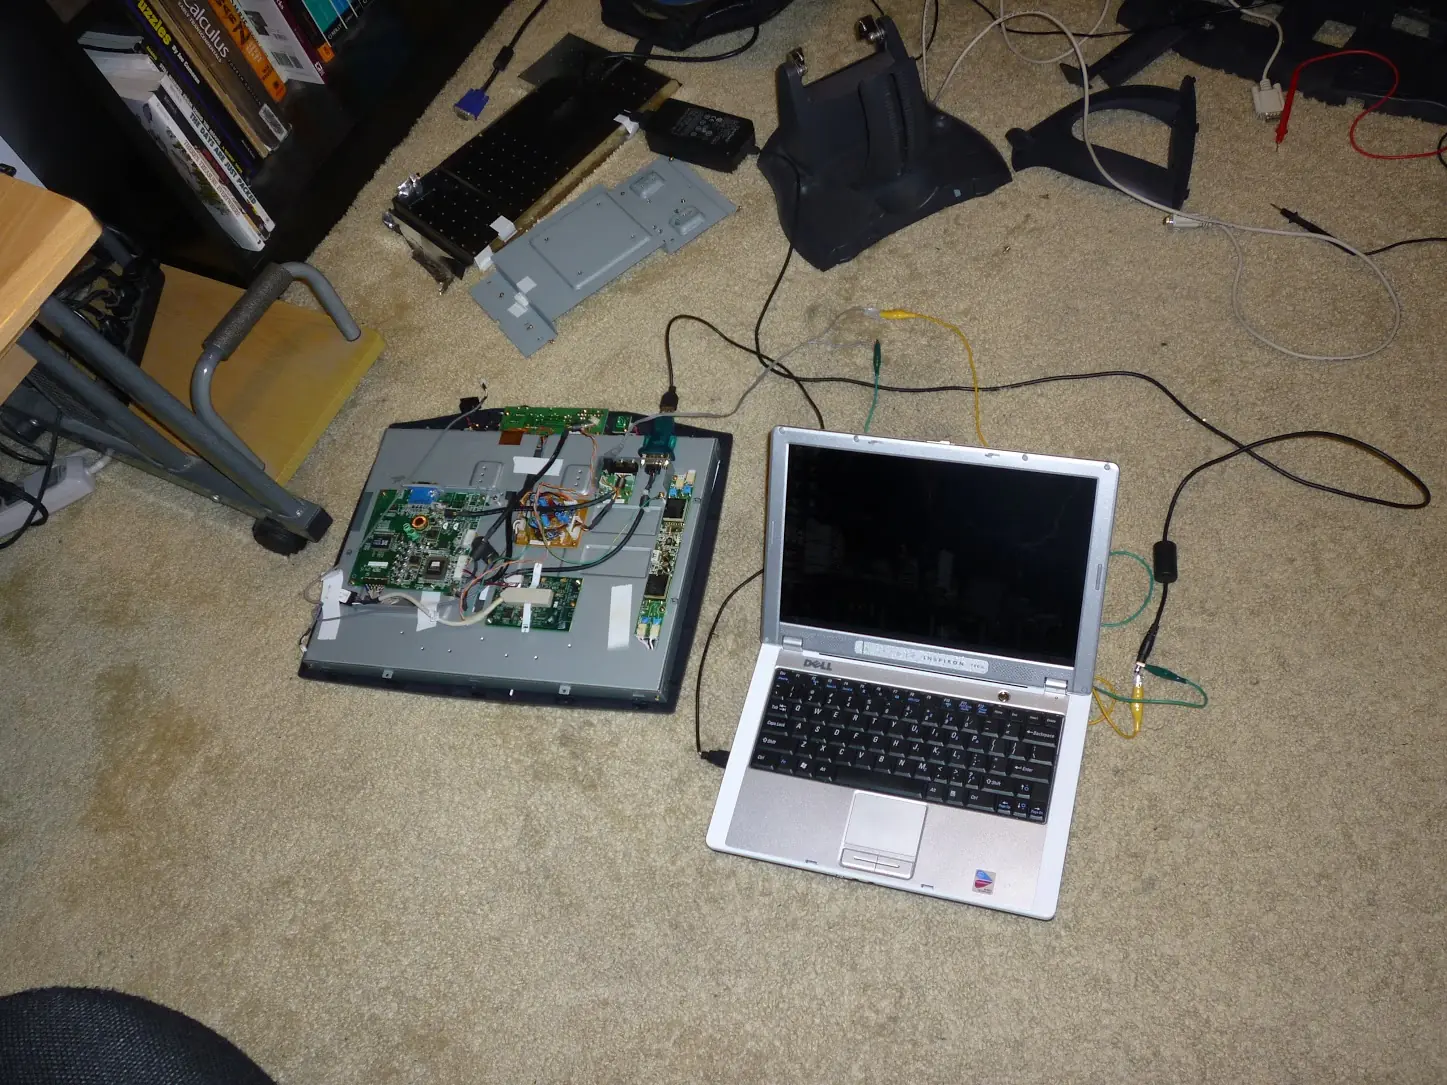
Below you can see the touch panel in the picture-frame, and the laptop I would be using for this project with its screen removed and the touch-panel attached by its side.
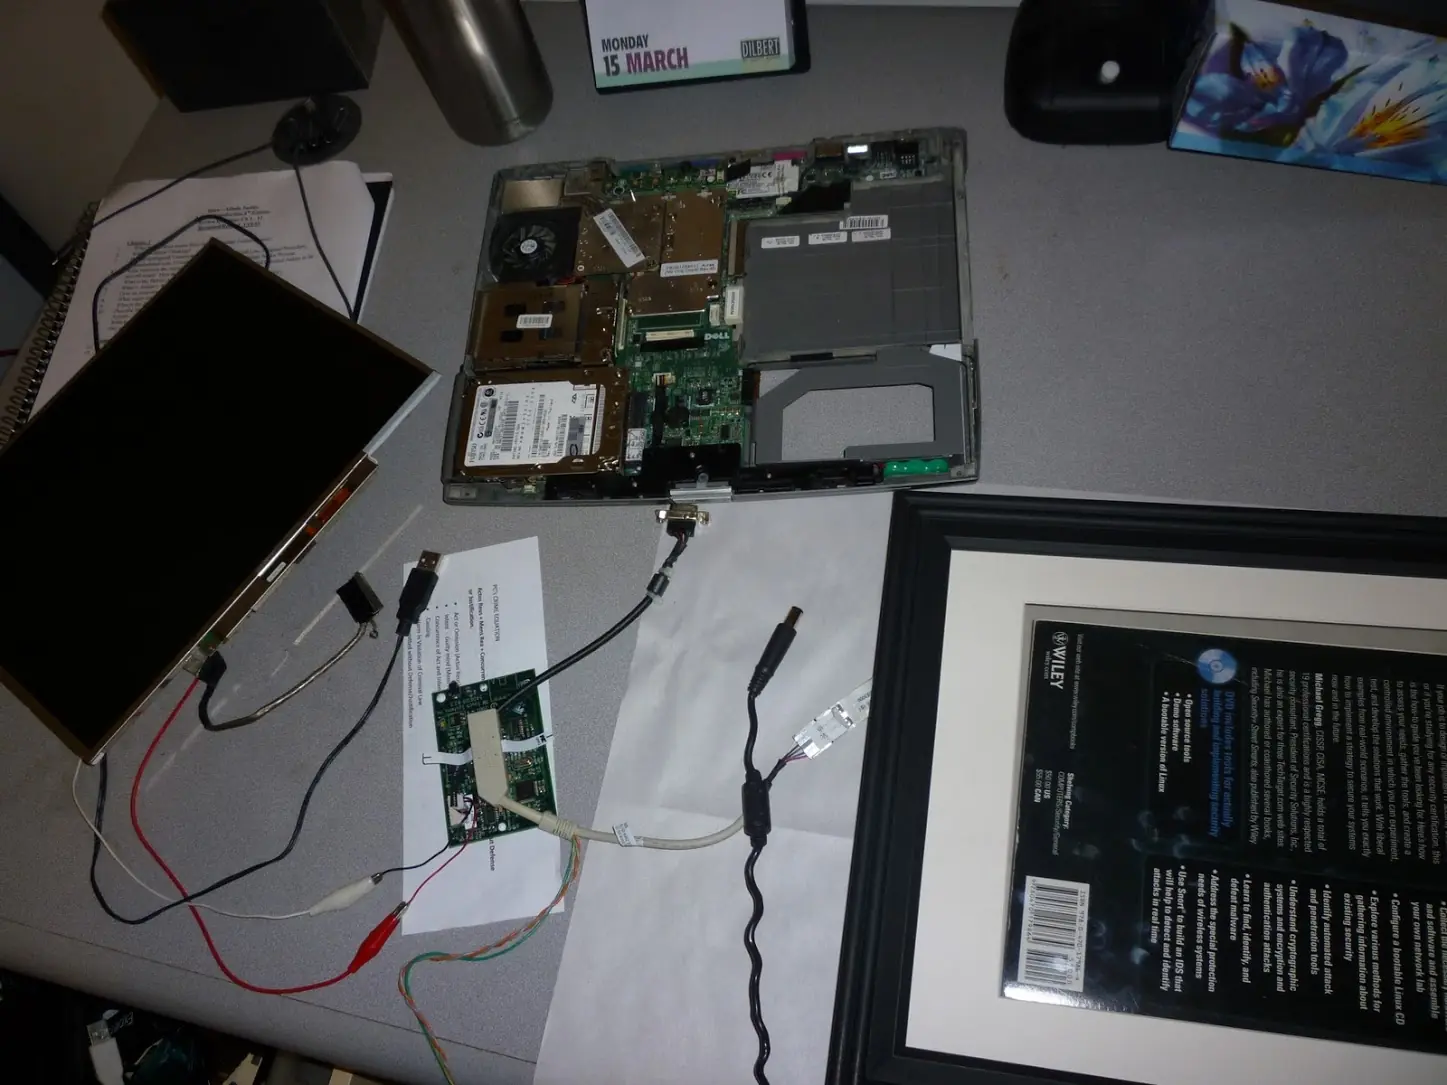
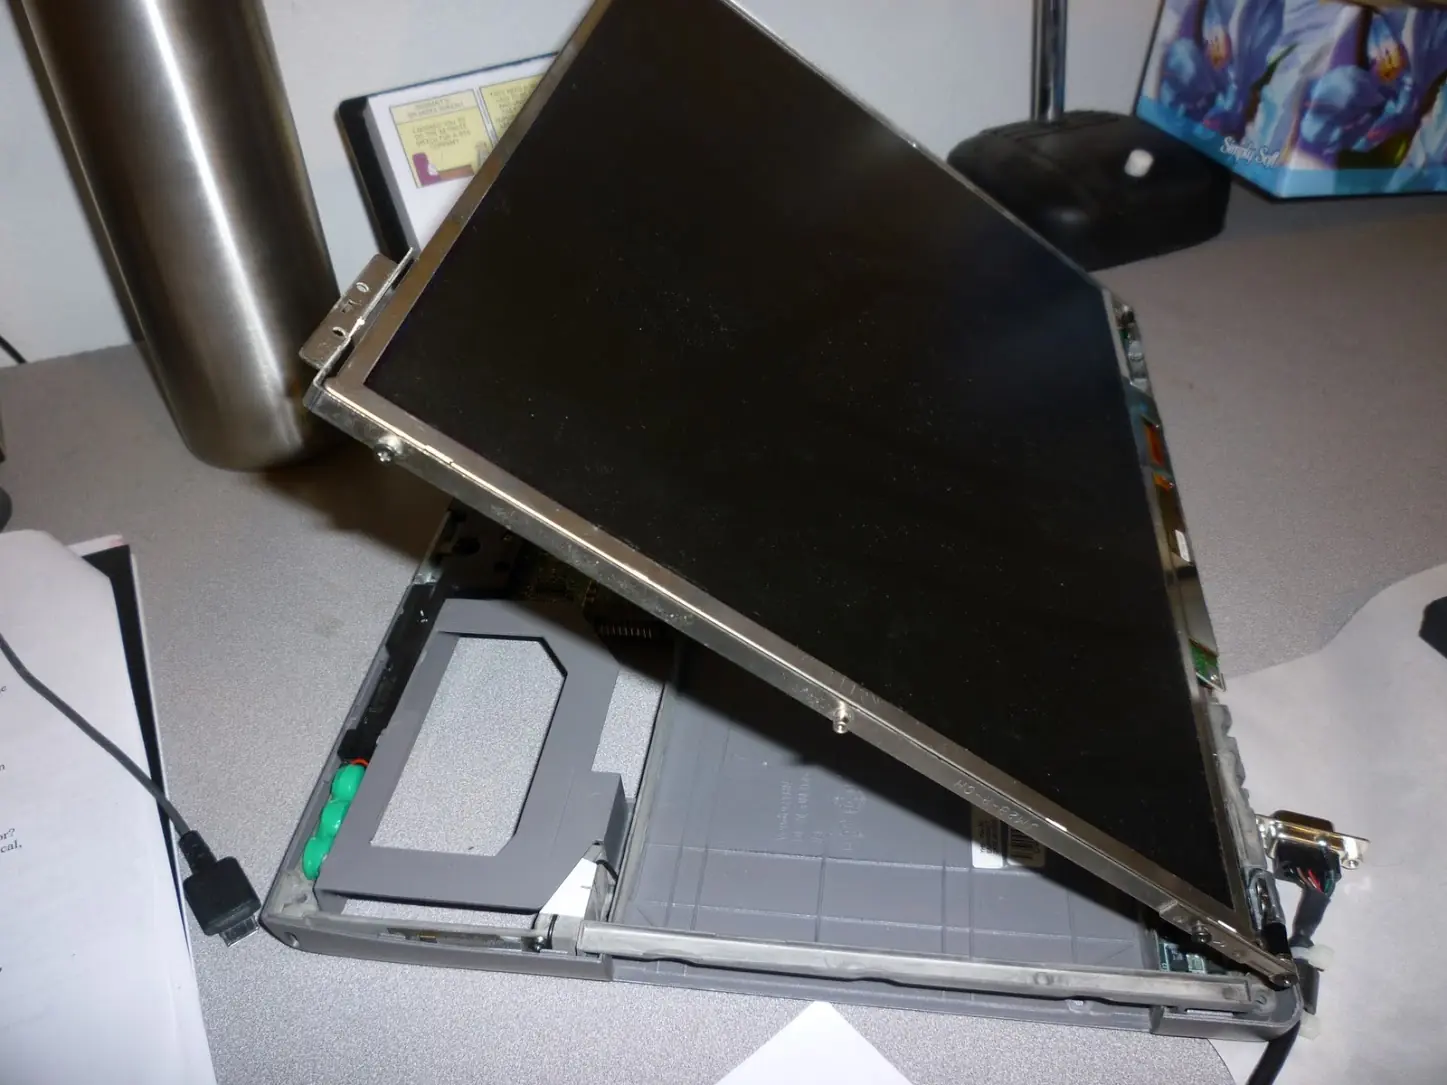
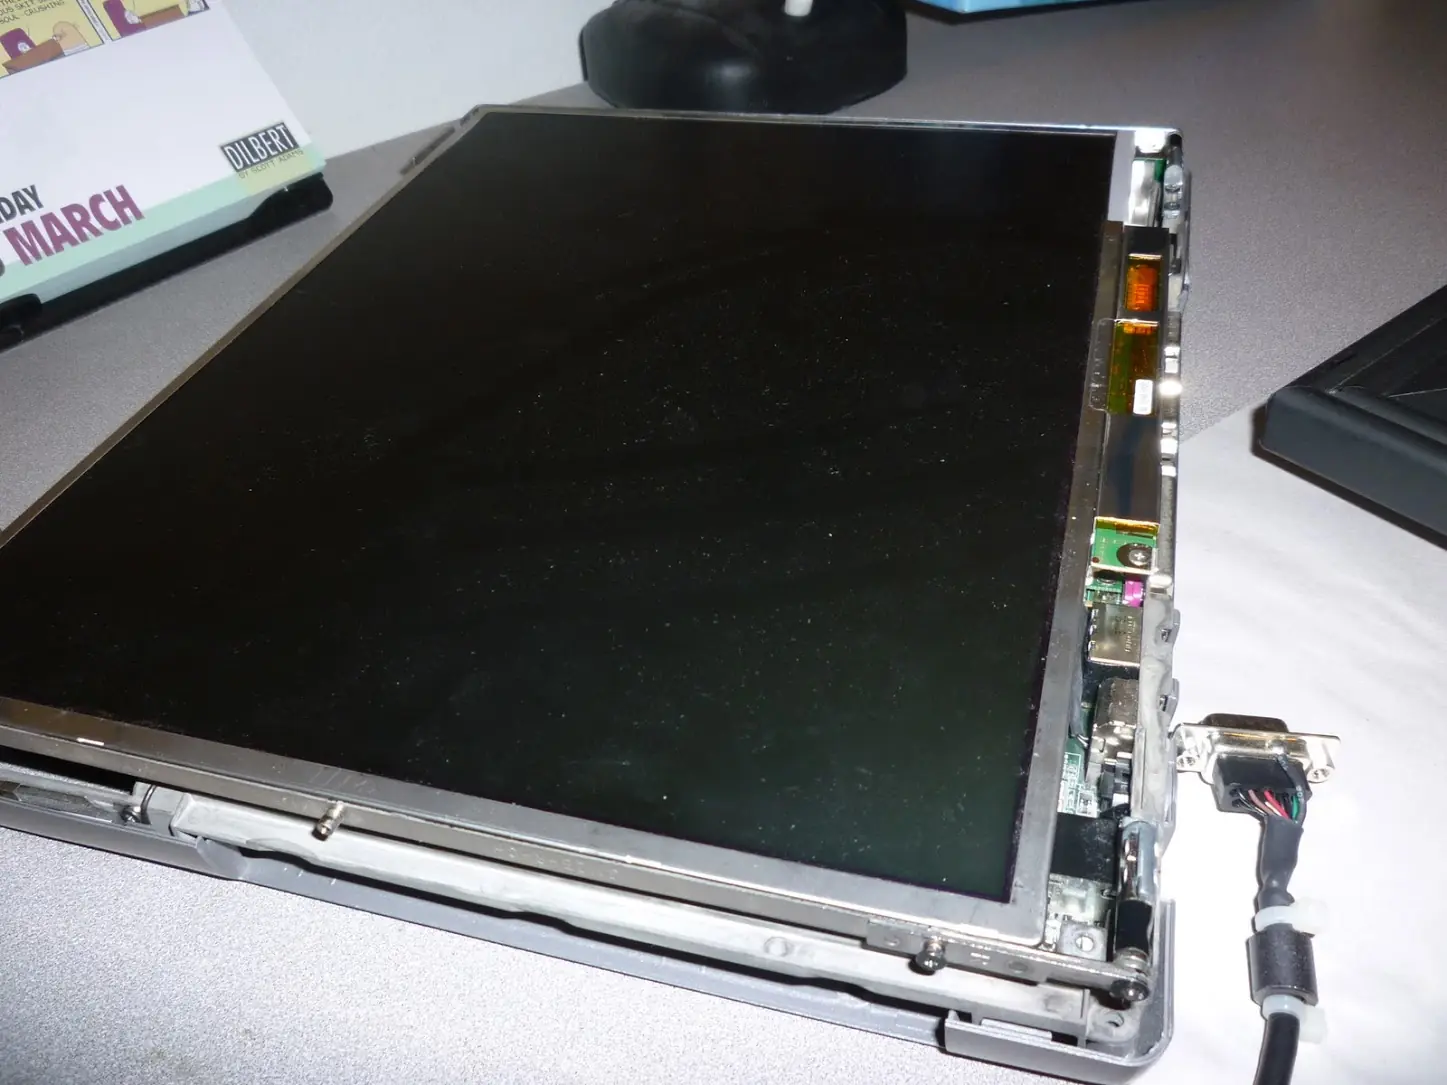
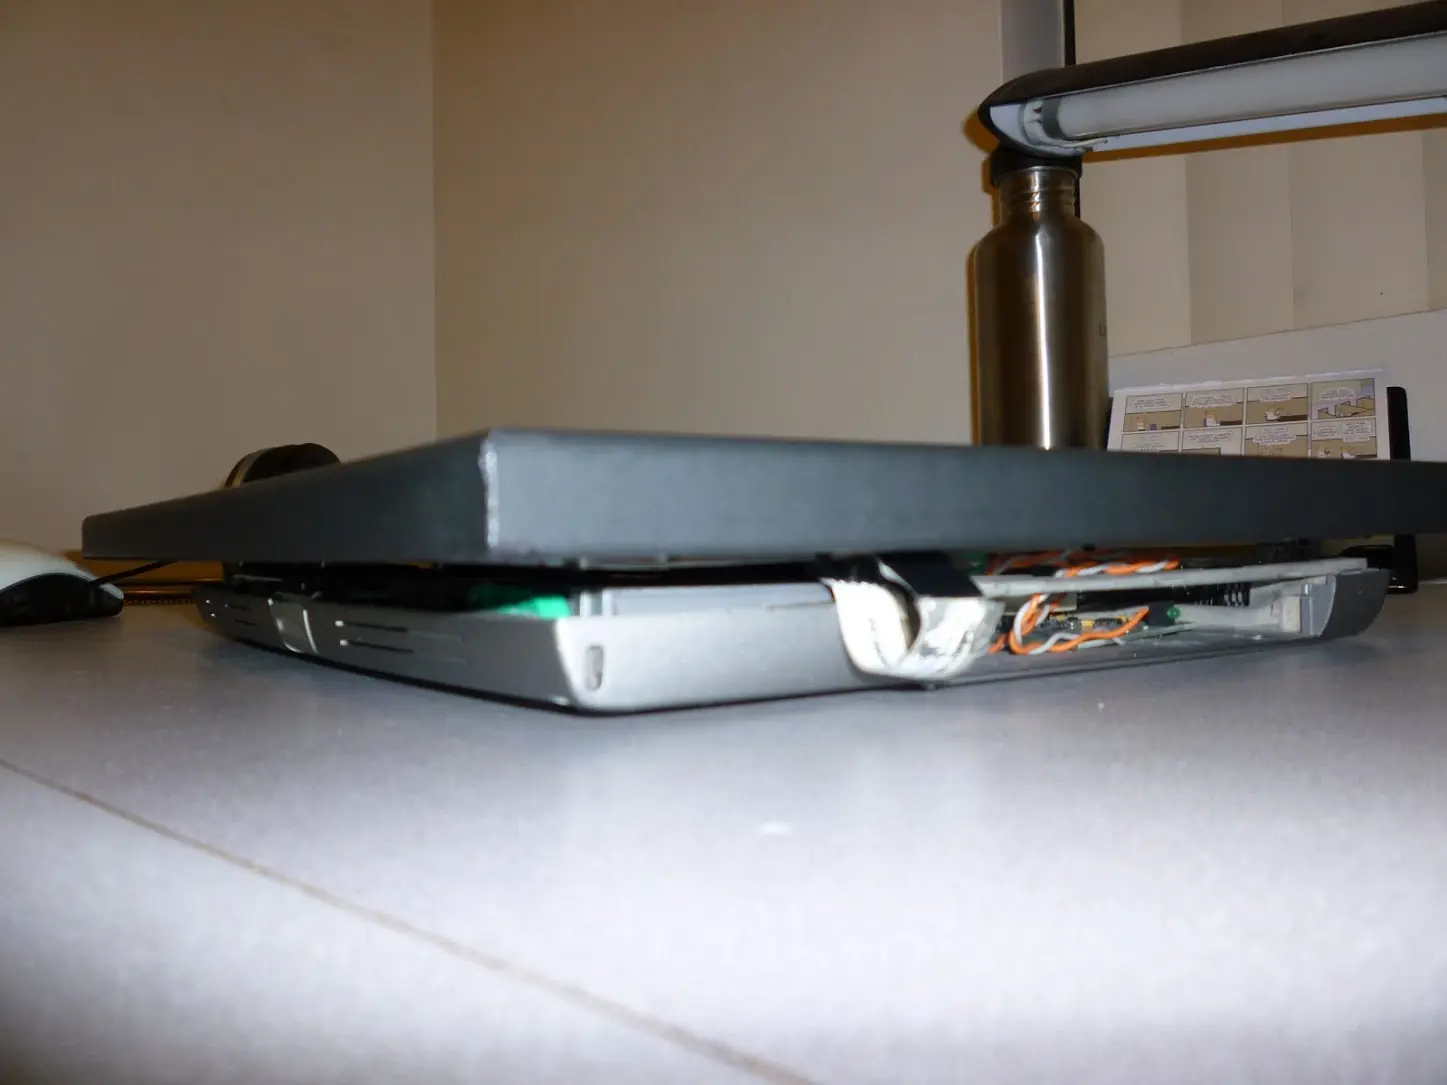
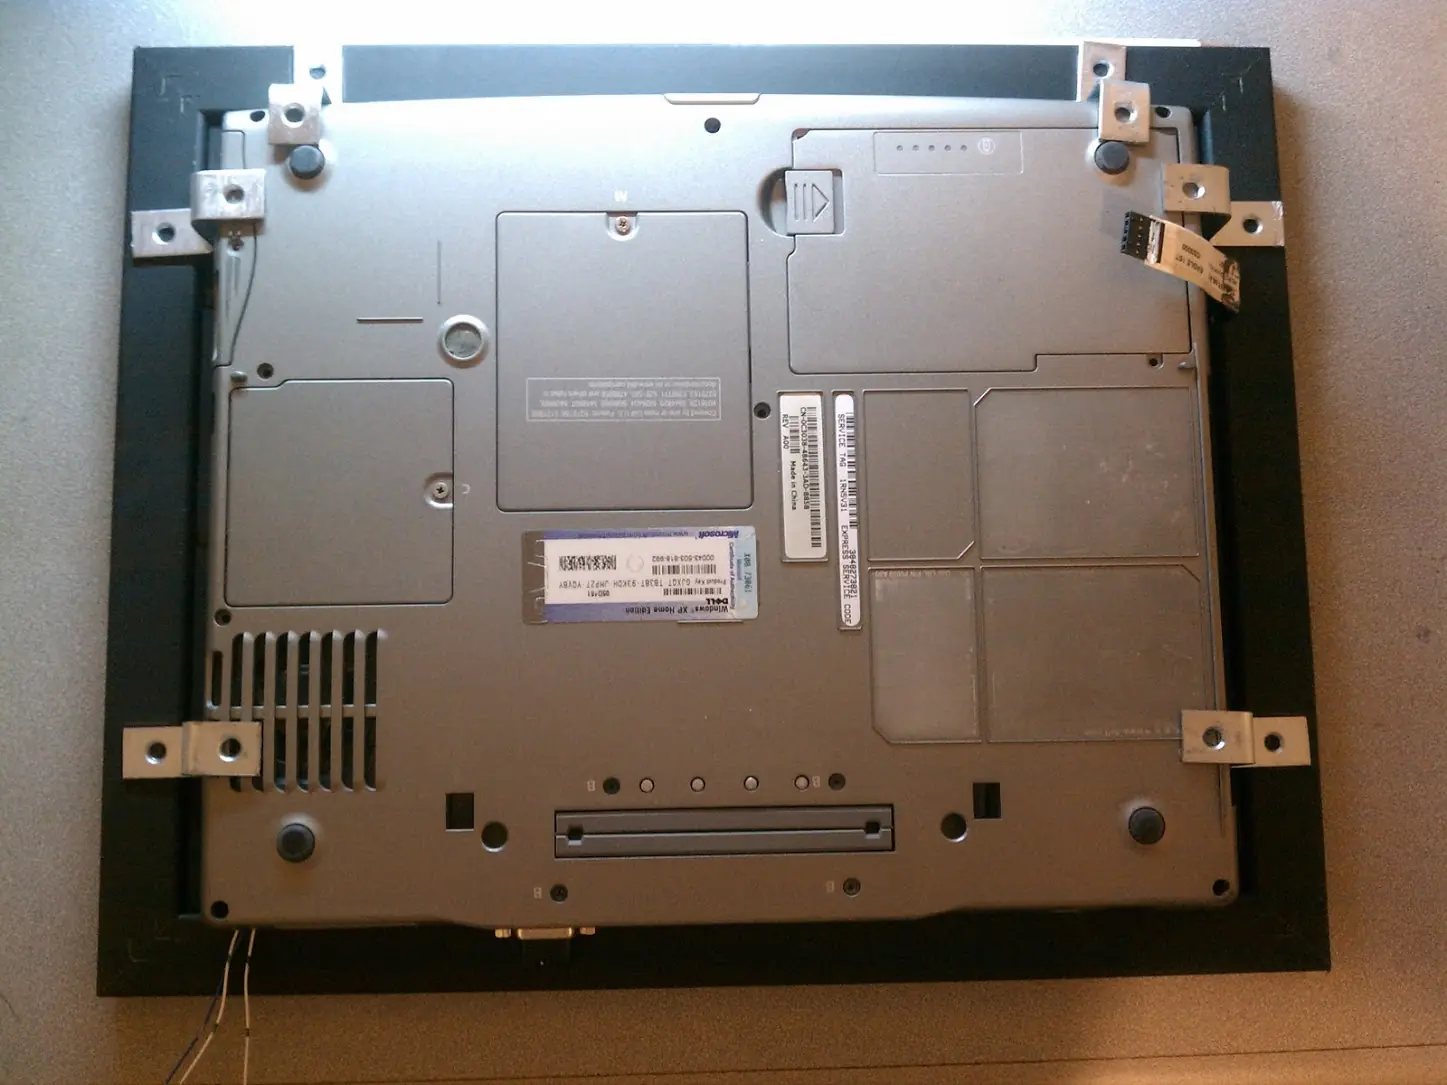
I gutted the laptop of unneeded parts, such as the keyboard, mouse, DVD drive, and lots of other plastic bits that would be in the way or covered up. Then I reattached its screen backwards, so that when it folds down it faces up.
I mounted the touch panel’s controller board where the DVD drive once was, and gave it 5v of power from the laptop’s USB ports. Below you can see the picture-frame resting on the laptop but not attached yet, and the wiring for the touch-panel.
Now for the inside wiring!
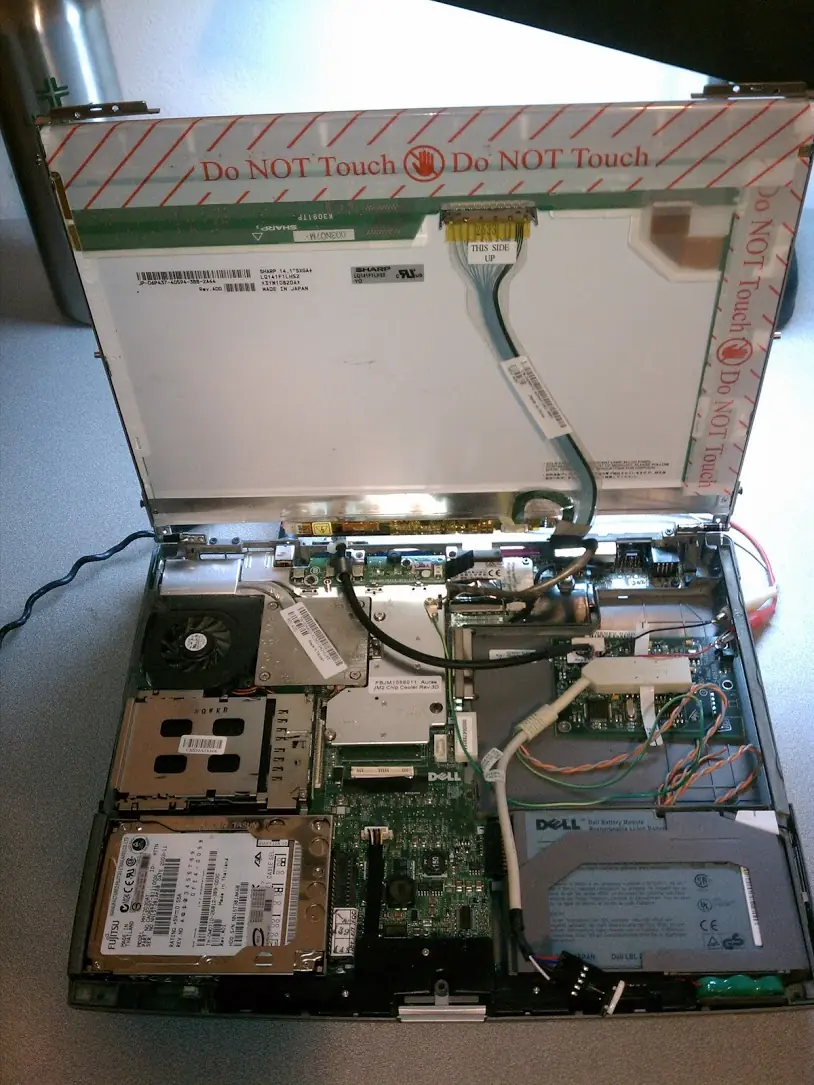 As you can see I used hot glue to hold the controller board in the optical drive bay. And all the wiring was looking good. I just needed a way to mount the touch-panel/picture frame to the rest of the laptop.
And here was my solution:
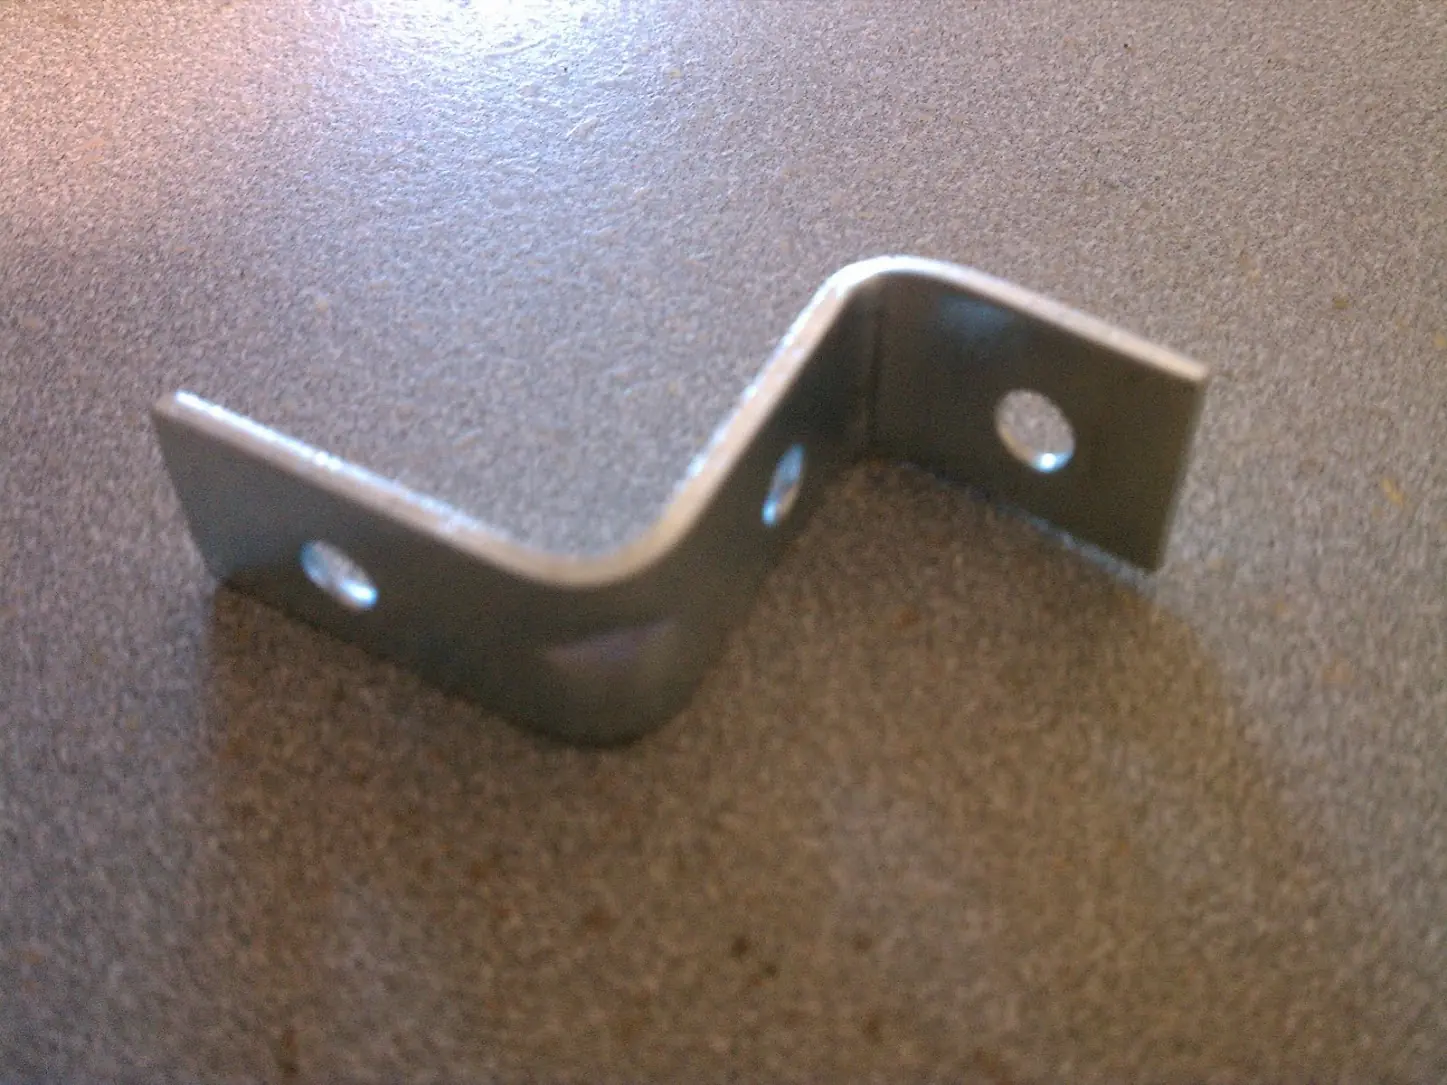
I would use these bent metal brackets I picked up at home depot to secure them together.
At this point everything was working great. I should probably mention what those blue wires are that you can see sticking out of it. They lead to the laptop’s power and standby buttons. Those buttons would normally be located right above the keyboard, however with this mod they are no longer assessable, so they will be relocated.

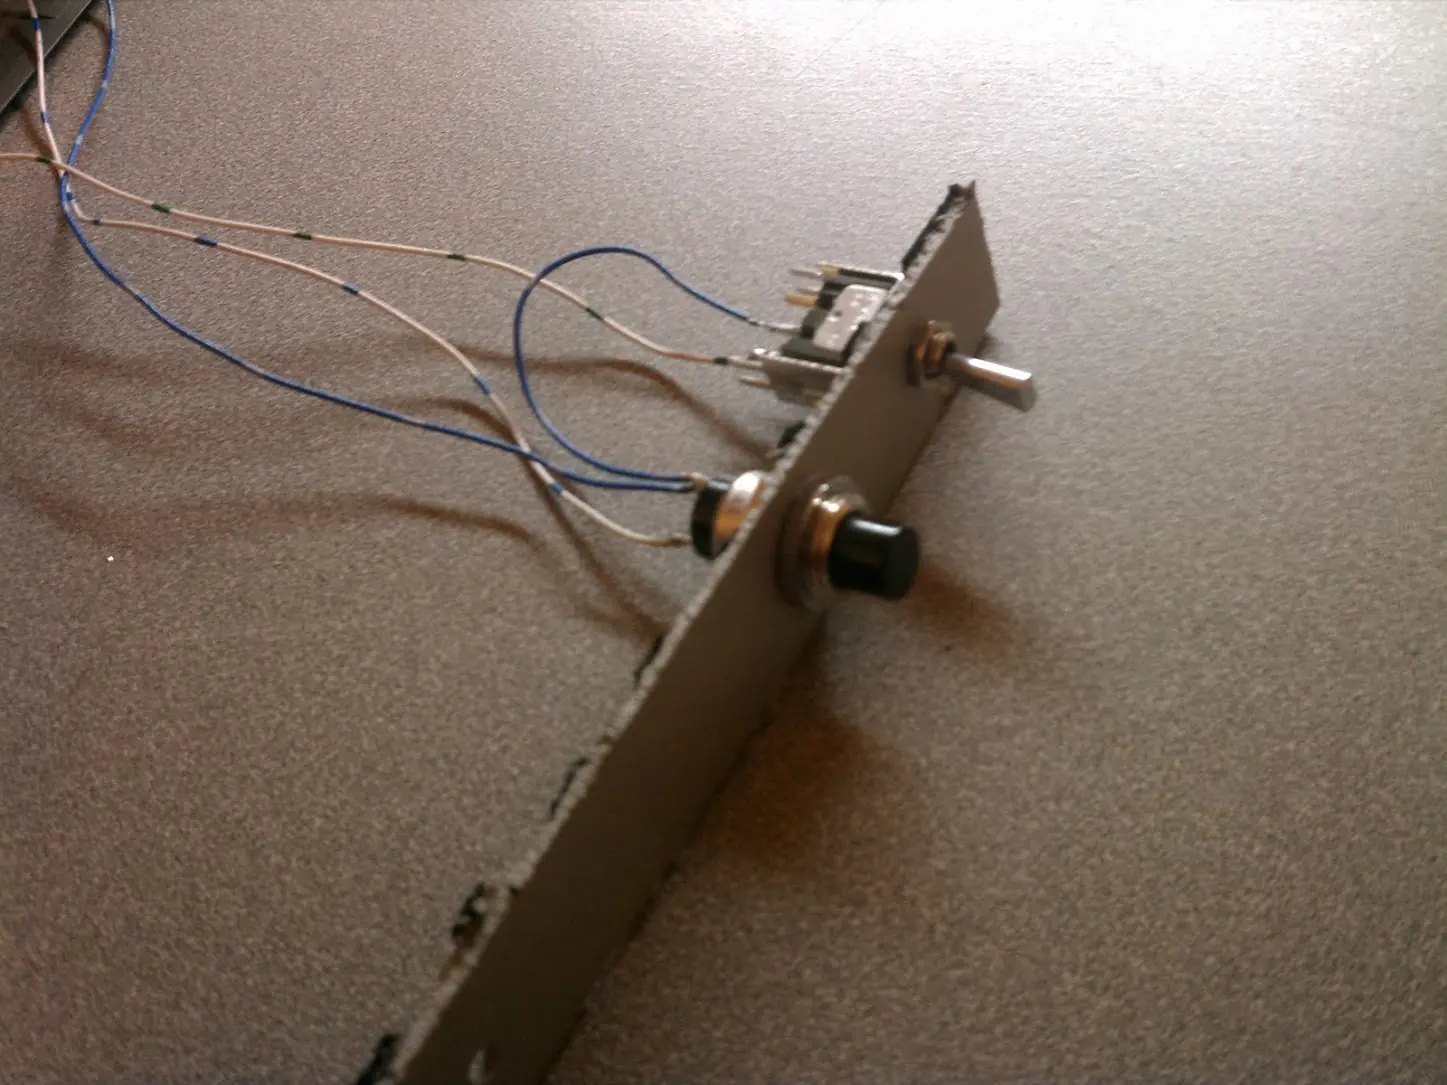
I mounted the power and standby buttons (seen above) on a piece of plastic from the LCD assembly. I placed it over the hole in the laptop where the outside of the DVD drive was.
This concludes the hardware portion of this mod.
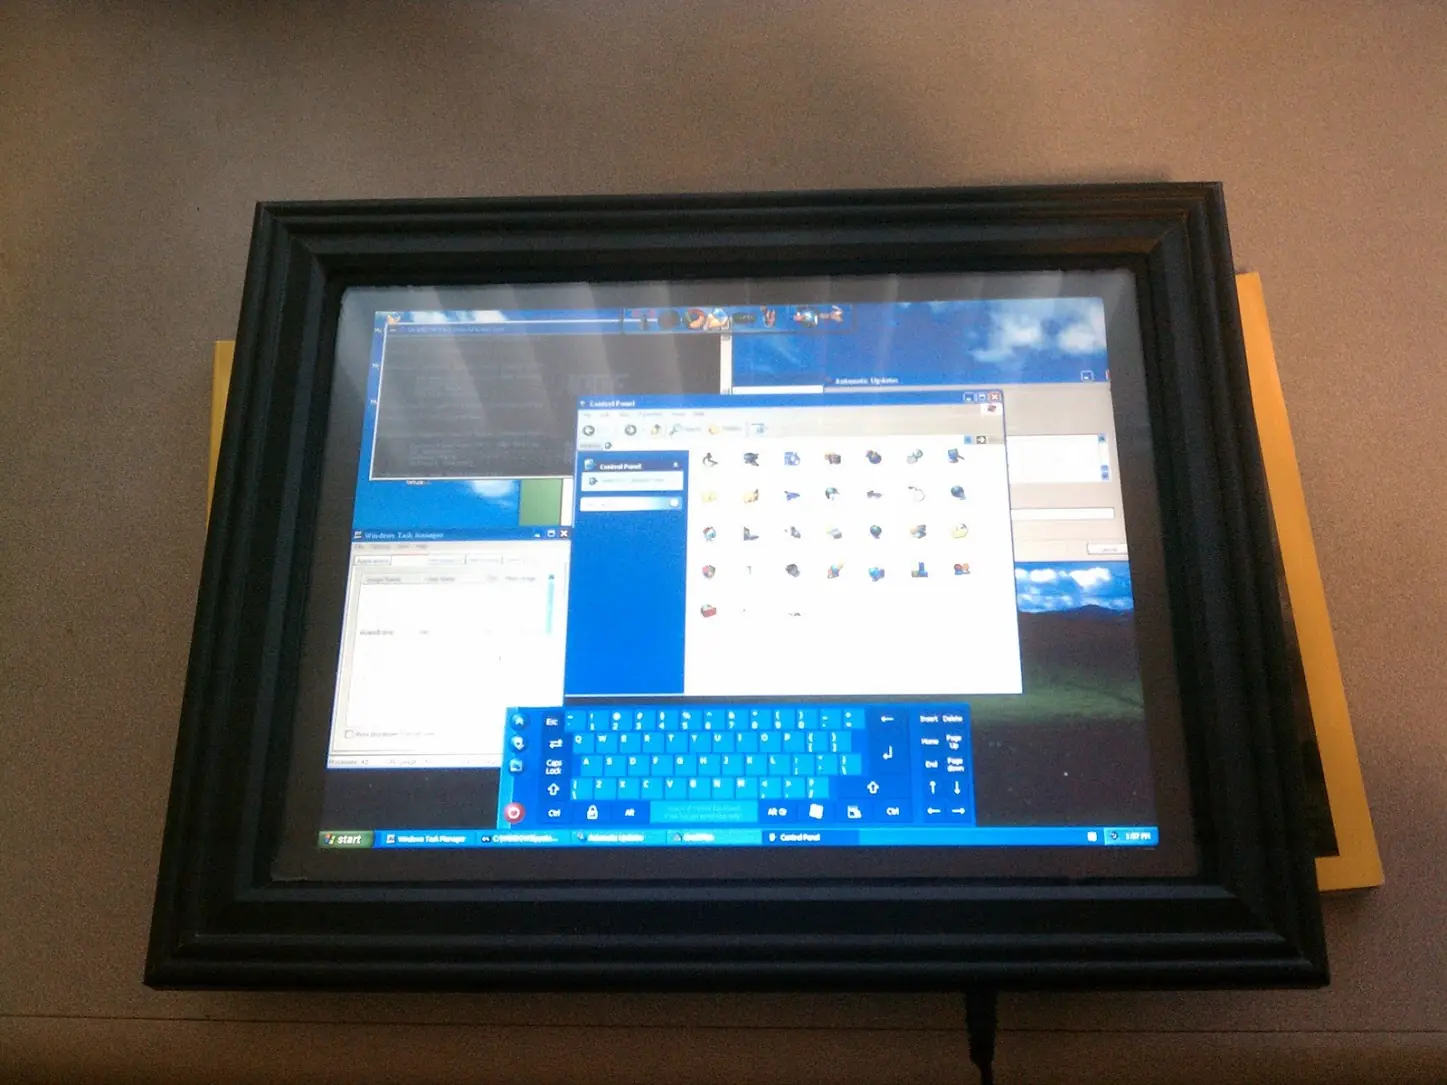
The Software
To make the interface more touch friendly I installed RockerDock to make launching application nicer.
Also since there is no longer a keyboard I used the Touch-It Virtual Keyboard to replace key input. I like this keyboard because it can hide easily and not take up any screen real estate when you need it.
If anyone reading this needs the driver for their 3M MT7 touch panel, or If I ever need the link for the driver, here is that too: https://solutions.3m.com/wps/portal/3M/en_US/TouchSystems/TouchScreen/CustomerSupport/TouchScreenDrivers/
In addition to the utilities above, I also Installed XBMC, which acts as a perfect picture displaying software. and with UPNP/DNLA I can control it from my phone, and even wirelessly display photos from my phone on it via my network.